
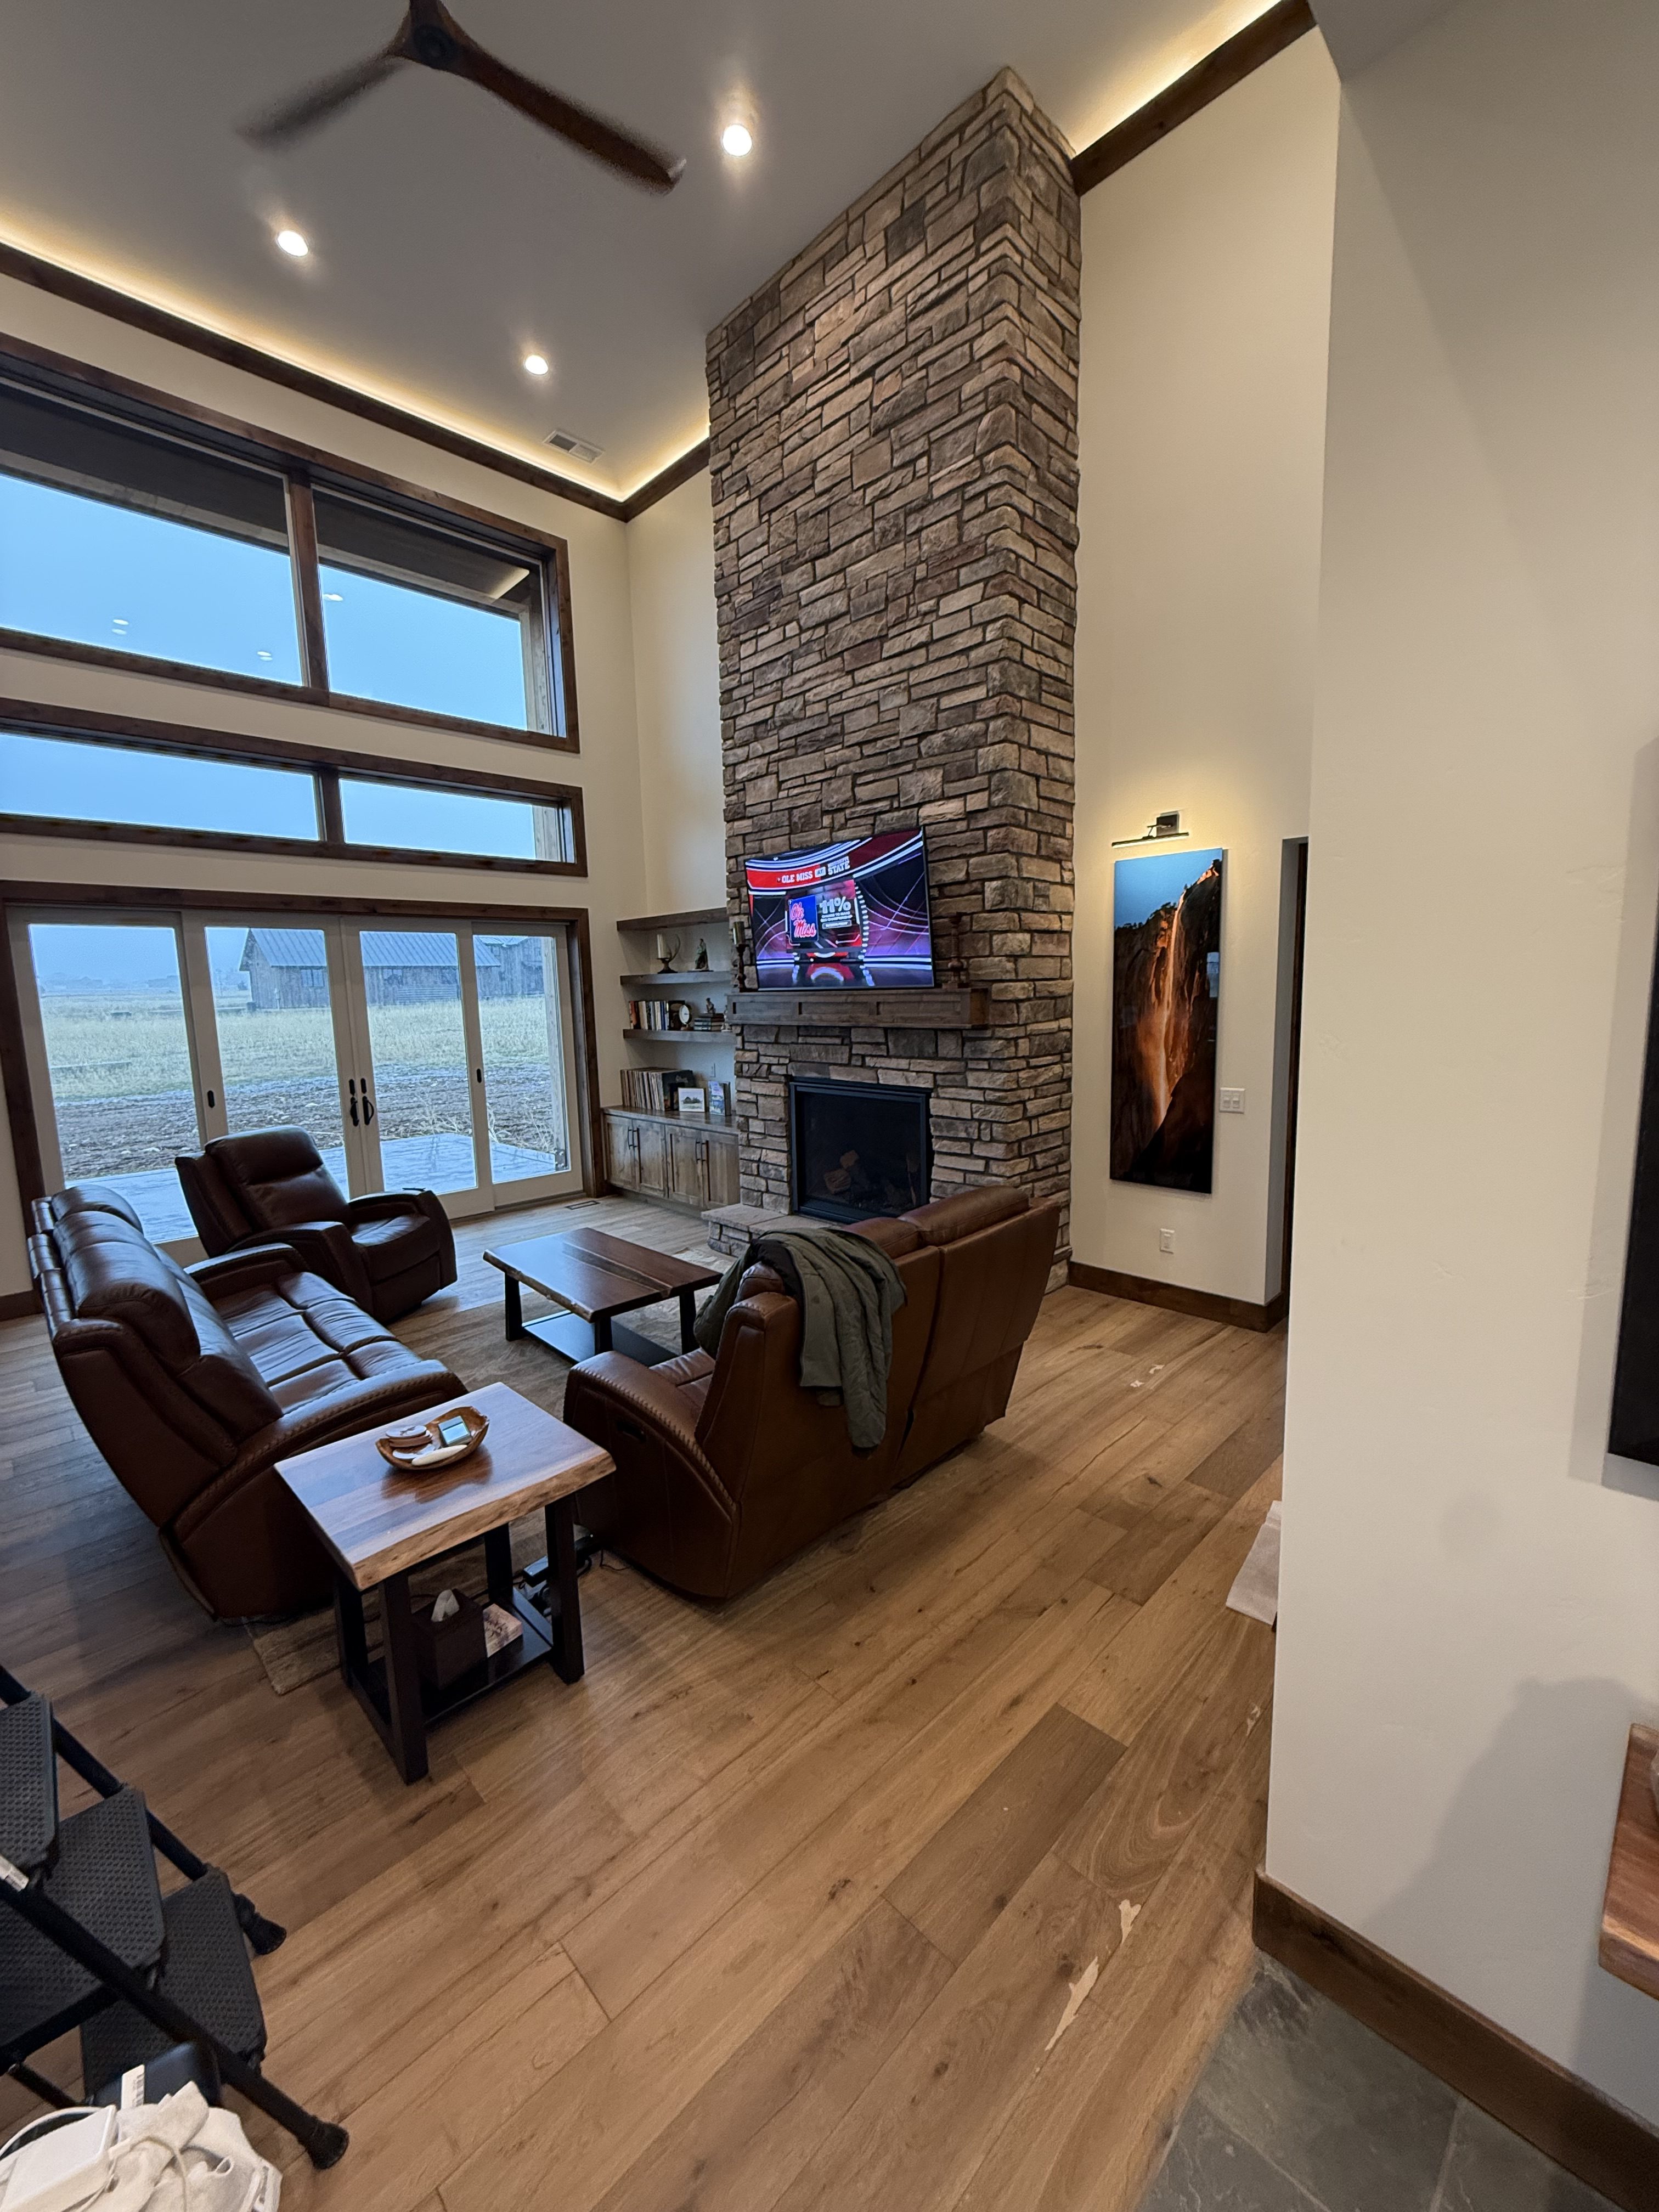
TL;DR: Stairs in an Idaho custom home are governed by the 2018 IRC exactly as printed, because Idaho amends dozens of residential code sections and never touches the stair chapter. That means a 7 3/4 inch maximum riser, a 10 inch minimum tread, 6 feet 8 inches of headroom, 36 inches of clear width and a 3/8 inch tolerance across the whole flight. The number that actually changes your floor plan is none of those. It is the stairwell opening, and your floor system sets it.
Contents
- What does Idaho actually require for stairs?
- Riser, tread and the 3/8 inch rule nobody budgets for
- How much floor do stairs really eat?
- Headroom: the number your floor system decides
- Landings and the 12 foot 7 inch ceiling on a single flight
- Handrails: height, grip and the part everyone skips
- Guards, the 30 inch trigger and three different spheres
- Winders, spirals and ship ladders
- The space under the stairs, and an Idaho code gap worth knowing
- Open risers, open treads and what snow country does to them
- Exterior steps, landings and the threshold problem
- What stair decisions lock, and when
- What drives the cost of stairs
- Stairs FAQ
- Building in Teton Valley or Eastern Idaho?
I have been in construction for twenty years and I am involved in every phase of every build we do. In that time I have watched more plans get redrawn over the stairs than over any other single element in a house. Not the kitchen. Not the primary suite. The stairs.
The reason is simple. A staircase is the only part of a house that is simultaneously a structural opening, a code-controlled safety device, a finish carpentry showpiece and a fixed consumer of floor area in two rooms at once. Change one dimension and all four move. Most people only find that out after the architect has drawn something beautiful and the framer asks how a 6 foot 4 inch guy is supposed to walk under it.
This is the honest version. Every number below is the Idaho number, pulled from the rule the state actually enforces, not a generic internet figure. I will tell you where the code on stairs is strict, where it is quieter than people think, and which decision you have to make at the plan stage because it cannot be fixed later.
What does Idaho actually require for stairs?
Idaho enforces the 2018 International Residential Code. That part gets repeated everywhere. What gets left out is the detail that matters: the state does not adopt the whole book, and it edits what it does adopt.
IDAPA 24.39.30, Section 600.03, effective July 1 2024, adopts Parts I, II, III and IX of the 2018 IRC for one and two family dwellings, then lists amendments (a) through (q). Those amendments are not cosmetic. Idaho deletes the residential sprinkler requirement. It deletes the opening protection section. It rewrites the dwelling-to-garage separation table. It replaces the mechanical ventilation section. It strikes the fire protection of floors section entirely.
Stairways are Section R311. Guards are Section R312. Both sit in Part III, Chapter 3, which Idaho adopts. Neither appears anywhere in the amendment list.
So the practical answer is this: Idaho applies the stair rules exactly as the IRC prints them. No local softening, no state exception, no Idaho-only tolerance. If you have read a stair dimension in a national builder’s guide, that is the number your inspector is working from here. That is unusual enough to be worth saying out loud, because almost every other chapter of the residential code gets edited on its way into this state.
Here is the whole working set for stairs in one place.
| Requirement | IRC section | The number | Idaho amendment? |
|---|---|---|---|
| Maximum riser height | R311.7.5.1 | 7 3/4 in. | None |
| Minimum tread depth | R311.7.5.2 | 10 in. | None |
| Riser and tread variation in a flight | R311.7.5.1 / .2 | 3/8 in. max | None |
| Minimum clear width above handrail height | R311.7.1 | 36 in. | None |
| Minimum width at and below handrail height | R311.7.1 | 31 1/2 in. (one rail), 27 in. (two rails) | None |
| Minimum headroom | R311.7.2 | 6 ft. 8 in. | None |
| Maximum vertical rise per flight | R311.7.3 | 12 ft. 7 in. (151 in.) | None |
| Minimum landing depth | R311.7.6 | 36 in. in the direction of travel | None |
| Handrail height above nosing line | R311.7.8.1 | 34 in. to 38 in. | None |
| Guard height, general | R312.1.2 | 36 in. min. | None |
| Guard height, open side of stairs | R312.1.2 | 34 in. min. from the nosing line | None |
| Under-stair protection | R302.7 | 1/2 in. gypsum board on the enclosed side | None |
| Fire protection of floors | R302.13 | — | Deleted by Idaho, amendment (g) |
One honest caveat before we go further. The state code is the floor, not the ceiling. A county or city can enforce local standards on top of it, and mountain jurisdictions often do on snow load, frost depth and access. Nothing I have seen in Teton County adds a stair-specific amendment, but the right move on any project is to confirm with the jurisdiction before the plans go final rather than after. Licensing and code administration at the state level sit with the Idaho Division of Occupational and Professional Licenses.
Riser, tread and the 3/8 inch rule nobody budgets for
Maximum riser 7 3/4 inches. Minimum tread 10 inches. Those two numbers get quoted constantly, and they are correct, but they are not the hard part.
The hard part is the third number: within a single flight, the greatest riser height may not exceed the smallest by more than 3/8 inch, and the same tolerance applies to tread depth.
Three eighths of an inch. Across every step in the run. That is tighter than most people’s intuition about rough carpentry, and it is the rule that generates the most failed inspections on otherwise good stairs.
Here is how a crew blows it without doing anything careless. The stringers get cut off the framing plan, which is based on subfloor-to-subfloor. Then the finish floor goes down. If the upper level gets 3/4 inch engineered hardwood and the lower level gets a 1/2 inch tile over 1/4 inch backer with thinset, the top riser and the bottom riser have each moved by a different amount, in opposite directions. You have now spent your entire 3/8 inch tolerance on a flooring decision that nobody connected to the stairs.
This is why I will not let a framer cut stringers until the finish flooring at both ends of the flight is locked. Not sampled. Not leaning toward. Locked, with a known total thickness including underlayment and setting bed. That single piece of information is worth more at framing than it is at selections, and it is a deadline most clients do not know exists.
The related detail is nosing. Where risers are solid and the tread depth is less than 11 inches, the IRC requires a nosing that projects 3/4 inch to 1 1/4 inches, with a leading edge radius no greater than 9/16 inch and a bevel no greater than 1/2 inch. Nosing projection must also stay uniform within 3/8 inch. If your treads are 11 inches or deeper, you are allowed to skip the nosing entirely, which is one quiet argument for drawing an 11 inch tread when the plan has room. Fine Homebuilding has a good practical write-up on where irregular stairs go wrong that is worth a read if you want the carpenter’s view.
And a comfort note that is not code at all. Code minimum is a legal stair, not necessarily a good one. The old carpenter’s rule is that riser plus tread should land around 17 to 18 inches. A code-minimum 7 3/4 by 10 stair adds to 17 3/4, which is technically in range but feels steep, because the climb is doing all the work and the foot has nowhere to go. A 7 inch riser with an 11 inch tread adds to 18 and walks like a completely different house. The cost of that difference is floor area, which brings us to the real conversation.
How much floor do stairs really eat?
This is the number I wish every client saw before the first plan review, because it is the one that moves walls.
Take your floor-to-floor height in inches. Divide by 7.75 and round up. That is your minimum riser count. Subtract one and multiply by your tread depth. That is your total run, the horizontal distance the stairs consume on the lower floor and simultaneously open up in the upper floor.
| Floor to floor | Minimum risers | Actual riser height | Total run at 10 in. treads | Total run at 11 in. treads |
|---|---|---|---|---|
| 9 ft. 0 in. | 14 | 7.71 in. | 10 ft. 10 in. | 11 ft. 11 in. |
| 9 ft. 6 in. | 15 | 7.60 in. | 11 ft. 8 in. | 12 ft. 10 in. |
| 10 ft. 0 in. | 16 | 7.50 in. | 12 ft. 6 in. | 13 ft. 9 in. |
| 10 ft. 6 in. | 17 | 7.41 in. | 13 ft. 4 in. | 14 ft. 8 in. |
| 11 ft. 0 in. | 18 | 7.33 in. | 14 ft. 2 in. | 15 ft. 7 in. |
| 12 ft. 0 in. | 19 | 7.58 in. | 15 ft. 0 in. | 16 ft. 6 in. |
Read the 10 foot row, because that is a common main-floor height in the homes we build here. Sixteen risers. Twelve and a half feet of run at code-minimum treads, nearly fourteen feet if you want the comfortable walk. Add a 36 inch landing and a turn and you are at sixteen or seventeen feet of building length devoted to getting from one floor to the other.
That is a bedroom. People do not think of stairs as a room, and they should, because the structure is identical to one: it occupies a footprint on every level it touches and it has to be framed, finished, lit and heated.
The other half of the sentence matters just as much. The run on the lower floor is also a hole in the upper floor. A fourteen foot run means a fourteen foot opening in your second floor framing, which has to be headed off, which affects the floor system you can use and sometimes forces a beam you were not planning on. Stairs are a structural decision wearing a finish-carpentry costume, and that is true of every set of stairs in the house.
Headroom: the number your floor system decides
Six feet eight inches, measured vertically from a line connecting the tread nosings up to the lowest point of anything above. That is R311.7.2, and it is where custom plans fail most often, because headroom is not a property of the stairs. It is a property of the hole in the floor above them.
The math is straightforward once you see it. Walking down from the upper floor, the nosing line drops by one riser for every tread you pass. The ceiling of the lower level is fixed. So the opening in the upper floor has to extend far enough back over the stairs that, by the time you hit the framed edge, the nosing line has dropped far enough to leave 80 inches of clear.
Written as a formula:
Minimum stairwell opening = (80 inches + floor assembly depth) × tread depth ÷ riser height
Measured back from the edge of the upper floor. Floor assembly depth is the whole sandwich: joist or truss, subfloor, finish floor, and the drywall on the ceiling below.
| Floor assembly | Depth | Riser / tread | Minimum opening |
|---|---|---|---|
| 11 7/8 in. I-joist, 3/4 in. subfloor, 3/4 in. hardwood, 5/8 in. drywall | 14 in. | 7.5 / 10 | 10 ft. 5 in. |
| Same assembly | 14 in. | 7.5 / 11 | 11 ft. 6 in. |
| Same assembly | 14 in. | 7.0 / 11 | 12 ft. 4 in. |
| 16 in. open-web floor truss, same layers | 18 in. | 7.5 / 10 | 10 ft. 11 in. |
| 16 in. open-web floor truss, same layers | 18 in. | 7.5 / 11 | 12 ft. 0 in. |
Look at what that table is saying. Switching from an I-joist floor to a deeper open-web truss, which is a decision usually made for mechanical runs and span, pushes your required stairwell opening about six inches longer. Switching from a 10 inch tread to a comfortable 11 inch tread pushes it thirteen inches longer. Do both and you have added a foot and a half of opening to a plan that was drawn before anyone picked a floor system.
This is the single most useful thing in this article. The stair, the floor system and the second floor plan are one decision, not three, and the time to make it is during design, before the stairs are drawn as a finished detail, while a line on paper still costs nothing to move. It is also why we hold a real conversation about the floor system and the stairs together early instead of treating it as a framing-day detail.
A second headroom trap: anything hanging below the ceiling counts. A soffit for a duct run, a dropped beam, a light fixture, the bottom of a closet above. If it is in the path, it sets the headroom. I have seen a gorgeous pendant over a stairwell become a code violation and a lawsuit waiting to happen because nobody checked it against the nosing line.
Landings and the 12 foot 7 inch ceiling on a single flight
R311.7.3 says a flight of stairs may not have a vertical rise greater than 12 feet 7 inches, or 151 inches, between floor levels or landings. Most two-story homes never come close. The homes that do are exactly the ones people build here.
A two-story great room with a 13 foot floor-to-floor, a walkout basement with a tall ceiling, a bonus level stacked over a deep garage. Any of those can put you past 151 inches, and the moment you do, you are required to break the flight with an intermediate landing. That landing is a minimum of 36 inches in the direction of travel and at least as wide as the stairway it serves.
Landings in a run of stairs are not a penalty. On a long flight they are the right design even when they are not required, because they break the climb, they give you a place to turn, and they let you fold a fourteen foot run into an L or a U so it stops eating a straight fourteen feet of building. Fine Homebuilding has a good piece on using landings to solve plan problems.
What a landing costs you is area in a different shape. A straight run is long and narrow. An L with a landing is shorter but wider. A U with a landing is a compact square that is harder to light and harder to move furniture through. There is no free version.
| Stair type | Footprint shape | Best for | The catch |
|---|---|---|---|
| Straight run | Long and narrow, roughly 3 ft. by 13 ft. | Simple framing, easiest to light, cheapest to build, easiest to move furniture on | Needs an uninterrupted 13 to 15 ft. of building length on two levels |
| L-shape with landing | Roughly 6 ft. by 9 ft. | Fitting a stair against two walls, shortening the straight dimension | Landing adds framing complexity; the turn adds a guard condition |
| U-shape with landing | Roughly 7 ft. by 8 ft. | The most compact code-compliant option on a tight plan | Hardest to light naturally, hardest to carry a sofa through, most guard linear footage |
| Winder turn | Similar to an L but shorter | Recovering a foot or two when the plan is already fixed | Tighter tolerances, harder to walk, more scrutiny at inspection |
| Spiral | Roughly 5 ft. to 6 ft. diameter | A loft or a secondary access where floor area is scarce | 26 in. wide, 9 1/2 in. risers, unusable for furniture, hard on anyone with mobility limits |
Handrails: height, grip and the part everyone skips
A handrail is required on at least one side of any flight of stairs with four or more risers. Height is 34 to 38 inches, measured vertically from the sloped plane connecting the tread nosings. Clearance between the rail and the wall is at least 1 1/2 inches. The rail may project no more than 4 1/2 inches into the required stairway width on each side.
Then there is the requirement almost nobody designs for in advance: handrails must be continuous for the full length of the flight, from a point directly above the top riser to a point directly above the lowest riser, and the ends must be returned or terminate in newel posts or safety terminals.
That rule kills a lot of magazine photography. The floating rail that stops short of the bottom step, the rail that dies into the air at a landing, the beautiful minimal detail where the metal just ends. Those get flagged, and they get flagged for a good reason, which is that an open rail end catches a sleeve or a bag and puts somebody down the stairs.
Grip size is the other half, and the code is specific about it because a rail you cannot close your hand around is decorative, not functional.
| Grip type | Shape | Dimensions |
|---|---|---|
| Type I, circular | Round | Outside diameter 1 1/4 in. minimum to 2 in. maximum |
| Type I, non-circular | Shaped or profiled | Perimeter 4 in. to 6 1/4 in.; maximum cross-section dimension 2 1/4 in. |
| Type II | Perimeter greater than 6 1/4 in. | Finger recess at least 5/16 in. deep on both sides, beginning within 3/4 in. of the tallest portion; width above the recess 1 1/4 in. to 2 3/4 in.; edge radius at least 0.01 in. |
That last line is the one that catches mountain-style homes. A heavy timber or a thick slab rail looks right with the architecture and routinely fails the grip test unless it is profiled. If you want that look, it has to be drawn that way and milled that way, which is a millwork conversation, not a framing one.
And the practical item that costs nothing if you catch it and real money if you do not: blocking. Wall-mounted handrail brackets need solid backing behind the drywall, placed at the right height along the slope. That is a thirty dollar piece of lumber at framing and a drywall repair plus a patched paint job if it is missed. Backing for the stairs belongs on the list at your pre-drywall walkthrough, which is the last moment it is free.
Guards, the 30 inch trigger and three different spheres
On stairs, guards get confused with handrails constantly. A handrail is what your hand holds. A guard is what keeps a body from going over the edge. They are different components with different rules, and sometimes one piece of millwork has to satisfy both.
The trigger for a guard is in R312.1.1, and the wording is more generous than people assume. A guard is required where a walking surface is more than 30 inches above the floor or grade below, measured vertically to the floor or grade below at any point within 36 inches horizontally to the edge of the open side.
That last clause is the one that surprises people on sloping sites, which is most lots in Teton Valley. A landing that sits 28 inches above the patio looks exempt. But if the grade falls away and drops past 30 inches anywhere within three feet of the edge, the guard is required. On a site where you have already graded for drainage, this is worth checking against the actual finished contours rather than the architectural elevation.
| Condition | Minimum height | Opening limit |
|---|---|---|
| Guard at a landing, balcony, loft or porch | 36 in. | No 4 in. sphere may pass |
| Guard on the open side of a stair flight | 34 in. measured from the nosing line | No 4 3/8 in. sphere may pass |
| Triangular opening formed by riser, tread and bottom rail | — | No 6 in. sphere may pass |
| Guard that also serves as the handrail | 34 in. to 38 in. | Handrail grip rules also apply |
Three spheres, one set of stairs. Four inches on the loft rail at the top. Four and three eighths on the open side of the flight. Six inches in the triangle down at the tread. A cable rail or a wide-spaced baluster detail can pass in one of those zones and fail in another, which is why guard details on open stairs get drawn and submitted rather than figured out on site.
One more height note. Where the top of the guard on the open side of a stair also functions as the handrail, it has to live in the 34 to 38 inch window and meet the grip requirements. You cannot run a 42 inch guard down a flight and call the top of it a handrail.
Winders, spirals and ship ladders
When a plan is tight, three alternatives to conventional stairs come up. All three are legal in Idaho and all three have strings attached.
Winders. Pie-shaped treads that turn a corner without a landing. The IRC requires a minimum tread depth of 10 inches measured at a walk line 12 inches from the narrow edge, and a minimum of 6 inches at any point. The 3/8 inch uniformity rule applies at that walk line too, which is genuinely hard to hit in the field. Winder stairs buy you roughly a foot of plan and cost you walkability. I use them when the alternative is losing a room, not as a first choice.
Spirals. R311.7.10.1 permits a minimum clear width of 26 inches, a tread depth of at least 7 1/2 inches measured 12 inches from the narrow edge, a maximum riser of 9 1/2 inches and a reduced headroom minimum of 6 feet 6 inches. Those relaxations exist because a spiral is understood to be a compromise. You will not move a mattress, a sofa or a washing machine up one. For a reading loft, fine. For the only access to a bedroom level, think hard.
Alternating tread devices and ship ladders. Permitted under R311.7.11 and R311.7.12 only where the space served has a compliant stairway or needs no means of egress, with one exception: they may serve as the means of egress for a loft, mezzanine or similar area of 200 gross square feet or less, and not where that space provides the only access to a kitchen or bathroom. Minimum width 20 inches, tread depth at least 5 inches with a projected tread depth of 8 1/2 inches, riser no more than 9 1/2 inches, and handrails on both sides at 30 to 34 inches.
That 200 square foot number is the one to remember if you are drawing a bunk loft or a sleeping nook above a great room. Go one square foot over and your charming ladder becomes an illegal means of egress and you owe the plan a real staircase, with all the run and opening consequences described above. I have watched that discovery cost a client a redesign.
The space under the stairs, and an Idaho code gap worth knowing
Everybody wants the storage under the stairs. The drawers in the risers, the dog nook, the hidden door to a playroom. It is a good use of otherwise dead volume and we build storage under stairs regularly.
Here is the rule. IRC R302.7 requires that enclosed accessible space under stairs have its walls, the under-stair surface and any soffits protected on the enclosed side with 1/2 inch gypsum board. Not the finished side you see from the hallway. The inside of the closet.
Two words in that sentence carry all the weight: enclosed and accessible. Code officials have consistently read “enclosed” to mean actually closed in, not merely framed. A Virginia technical review board interpretation on exactly this point held that open stud framing under a stair in an unfinished basement, with no drywall or covering, is not an enclosed space and does not trigger the requirement. Put a door and a finished wall on it and it does. Which is to say: the requirement is not triggered by the stair, it is triggered by your decision to build a closet under it.
Now the part worth knowing, because it is genuinely odd and I have not seen anyone else write it down.
Idaho’s amendment (g) deletes IRC Section R302.13, fire protection of floors, outright. That section required a membrane on the underside of floor framing over an unfinished basement, with an exemption for dimension lumber 2×10 or larger, which meant in practice that it only ever bit on engineered I-joists and open-web trusses, the systems nearly every custom home uses. Idaho struck it. No membrane required, no inspector will ask.
But R302.7 is not deleted. So in the same basement, a few feet apart, you have two framed undersides and opposite answers. The engineered floor joists over your unfinished basement need nothing. The underside of the staircase, the moment you close in the space beneath it, needs half inch gypsum board.
There is a defensible logic to it once you see it. R302.13 is about a fire below spreading into a floor assembly. R302.7 is about protecting the one path everyone uses to get out of the house. The stairway is the egress route, and you do not want the thing you are running down to be the first assembly to fail. The outcome is still a combination unique enough to catch experienced people, and it is the kind of detail that only turns up when you read the state rule instead of the national one.
One adjacent item while we are under there. If anyone is thinking about tucking the electrical panel into that under-stair closet, NEC 240.24(D) keeps overcurrent devices out of clothes closets, and clearance rules in front of the panel will usually finish the argument anyway. Idaho’s electrical rules are at IDAPA 24.39.10, and we cover the sizing side of that decision in our guide to what size electrical panel a new home needs. Plan the panel location with the mechanical room, not with the leftover space.
Open risers, open treads and what snow country does to them
Open-riser stairs are having a long moment, and for good reason. They move light through a house, they make a stair feel like furniture instead of a wall, and in a home with big glass they keep a view from getting chopped in half.
The code allows open-riser stairs. Where the total rise of the flight is more than 30 inches, the open space between treads must not allow a 4 inch sphere to pass. On a 7 1/2 inch riser you are only fighting for a couple of inches, so the usual solution is a thicker tread or a partial riser board set back from the nosing.
Two things I tell clients about open risers in this climate that have nothing to do with code.
First, they move air. A stairwell is already a chimney, and an open-riser stair in a two-story volume is a very efficient one. Warm air leaves the main floor and collects at the top of the stairwell, and if the upper level is where the bedrooms are, you will feel it. Warm stairs at the top and cold stairs at the bottom is a conditioning question, and it is solved at the mechanical design stage with zoning and return air placement rather than by closing the stairs back in. Our guides on insulation and air sealing and on how a big glass package performs here both bear on how aggressive that stack effect gets.
Second, they carry everything. Snow, grit, mud and road sand come in on boots and go straight through an open tread onto whatever is below. If the stairs land near the entry, that is a maintenance decision you are making for the life of the house. It is one of several reasons we push hard on a real mudroom program in a Teton Valley home, so boots come off before anyone reaches the stairs.
A note on the look versus the vaulted ceiling above it. If your stairs rise into a vaulted space, the roof framing becomes part of the headroom calculation, and scissor trusses behave differently than a stick-framed cathedral in that regard. Another reason the stairs, the floor system and the roof get drawn together.
Exterior steps, landings and the threshold problem
Exterior stairs get less attention than interior stairs and cause more callbacks, because snow country is unkind to anything horizontal.
The code side is short. There must be a landing or floor on each side of every exterior door. At the required egress door, the exterior landing may not be more than 1 1/2 inches below the top of the threshold. At doors other than the required egress door, and at the egress door where the door does not swing over the landing, you are allowed up to 7 3/4 inches of drop. Landings are at least as wide as the door and at least 36 inches in the direction of travel.
Now the field reality. Here is the tension nobody writes down: code wants your exterior landing close to the threshold, and snow wants it as far below as you can legally get it.
A landing an inch and a half below the threshold works beautifully in April. In February, when four inches of snow has drifted onto it and then thawed and refrozen, you have built a dam against your door. I would rather have the full 7 3/4 inch drop at every door where the code permits it, which means designing the door swing so it does not swing over the landing, which is a plan decision, not a trim decision.
The other exterior items worth getting right before the slab goes in:
- Slope. Walking surfaces may not slope more than 2 percent, one unit in 48. That is a drainage slope, and it is the maximum, not a target.
- Where the snow lands. Exterior stairs under a roof edge are stairs under a snow shed. We look at this against the roofline, the same way we do when we plan to keep ice dams off the eaves. Moving stairs six feet sideways at design is free; moving them after the first winter is not.
- Frost and settlement. Exterior stairs and landings have to be founded below frost depth or isolated so they can move independently. Stairs that settle half an inch have blown the 3/8 inch uniformity rule all by itself.
- Garage step-down. The step from the house into the garage is a stair, with the same riser rules, and it is a common place to find a single oversized step that somebody treated as a slab detail.
Basement stairs deserve one line of their own. If the basement has a bedroom, the stairs are not your egress plan. That is what the egress window requirement is for, and the two are separate obligations.
What stair decisions lock, and when
This is the sequencing answer, which is really what people are asking when they ask about stairs.
| Decision | Must be made by | What it locks | Cost to change later |
|---|---|---|---|
| Stair location and type (straight, L, U, winder) | Schematic design | Floor plan on two levels, structural openings | Full redesign |
| Floor-to-floor height | Design development | Riser count, total run, stairwell opening length | Full redesign |
| Floor system (I-joist vs. open-web truss) and depth | Before structural drawings | Headroom, required opening length, beam and header sizing | Structural redesign, engineering fee |
| Tread depth target (10 in. vs. 11 in.) | Before structural drawings | Run length, opening length, whether nosings are required | Structural redesign |
| Finish floor thickness at both levels | Before stringers are cut | The 3/8 in. riser uniformity tolerance | Recut stringers, rebuild the stair |
| Handrail and guard design | Before framing inspection | Blocking locations, newel posts, structural attachment | Drywall repair, paint, sometimes framing |
| Under-stair storage, open or enclosed | Before insulation and drywall | Whether 1/2 in. gypsum is required on the enclosed side | Demo and rebuild the enclosure |
| Stair lighting and switching | Pre-drywall | Box locations, three-way runs, fixture clearance to the nosing line | Drywall repair, rewiring |
| Tread and riser material, stain, rail finish | Finish selections | Appearance, lead time | Low, if caught before order |
Read that table top to bottom and you can see the shape of the problem. Seven of the nine decisions that control your staircase have to be made before anyone swings a hammer, and six of them live in the drawings. By the time most clients start thinking about the stairs, which is usually when they are picking stain colors for the stairs at finish selections, every structural choice has already been made for them.
That is the argument for doing design properly and slowly. Our process puts the floor system, the stairs and the second floor plan on the table in the same conversation, because they are one decision. We charge a fixed design fee, quoted per project, and this is a large part of what it buys: the chance to find the stairs and stairwell problem on paper instead of on the framing deck. If you want the broader view of how that sequence runs, the framing approach and the inspection sequence both tie in.
Framing inspection is where your stairs get their first real look. The inspector will check riser and tread uniformity on the rough stringers, headroom at the opening, and whether the guard and handrail backing is in place. Fixing a problem at that visit is inconvenient. Finding it at the final walkthrough is a different kind of day.
What drives the cost of stairs
I am not going to publish a price per step, because any number I gave you would be wrong by the time you read it and misleading the moment it met your actual plan. A straight run of painted poplar treads against two walls and a staircase that floats in a two-story glass volume are both “stairs” and they are not within an order of magnitude of each other.
What I can do is tell you exactly what moves the number, roughly in order of impact.
- Whether the stair is a structural element. Stairs between two walls hand their load to those walls. A stair that floats, cantilevers, or is open on both sides needs steel, a structural stringer, or engineered attachment. That is the single biggest cost fork, and it is decided in the drawings.
- Linear feet of guard. Guard is priced by the foot and a U-shaped stair with a loft rail at the top can easily carry three times the guard footage of a straight run against a wall. Clients consistently underestimate this one.
- Rail material and profile. A stock profile in paint-grade poplar, a stained hardwood rail, a machined timber rail with finger recesses and a fabricated metal rail are four very different scopes of work. The Type II grip requirement on heavy rails means milling, not just buying.
- Tread material and how it meets the floor. A tread that matches the hardwood exactly, with a mitered return and a continuous grain across the nosing, is finish carpentry at the high end. A capped tread with a stock nosing is not.
- Open risers and glass or cable infill. Both add engineering, fabrication and tolerance requirements. Glass guards in particular have to be specified, ordered early and protected on site.
- The number of landings and turns. Every landing is additional framing, additional guard, additional trim and additional complexity in every trade that touches it.
- Access and sequencing. Stairs that have to be built before the rest of the structure closes in, or carried into a finished space, cost more in labor than the same stairs built in the normal sequence.
For a sense of where that sits in the whole project, SwagerBuilds custom homes start at $400 per square foot in Teton Valley and Eastern Idaho and go up, and start at $1,000 per square foot in Jackson Hole and go up. The staircase is one of the line items where the same square footage can swing dramatically based on design intent, which is exactly why we want the conversation early. Our breakdown of the cost to build in Teton Valley puts it in context, and our take on which upgrades are worth the money covers how we think about spending on visible craft.
If you want my honest opinion on where to spend: buy the comfortable stair geometry first. The 11 inch tread, the proper landing, the headroom that does not make tall guests duck. Those are permanent and you feel them on the stairs every single day. Then spend on the rail that runs the length of the stairs, because it is the thing your hand touches ten times a day for thirty years. Exotic materials and dramatic cantilevers are the last dollar, not the first.
Stairs FAQ
What is the maximum stair riser height in Idaho?
Seven and three quarter inches. Idaho enforces the 2018 IRC and does not amend Section R311, so the national maximum riser of 7 3/4 inches applies as printed. The greatest riser in a single flight may also not exceed the smallest by more than 3/8 inch.
How much floor space do stairs take in a custom home?
For a 10 foot floor-to-floor height you need 16 risers, which produces a total run of about 12 feet 6 inches at code-minimum 10 inch treads, or about 13 feet 9 inches at a more comfortable 11 inch tread. That run consumes floor area on the lower level and creates an opening of the same length in the floor above.
Do stairs need a landing in Idaho?
Yes, at the top and bottom of each flight, with limited exceptions, and a landing is at least 36 inches in the direction of travel and as wide as the stairway. An intermediate landing is also required whenever a single flight would rise more than 12 feet 7 inches between floor levels.
Does the space under the stairs need drywall?
If you enclose it, yes. IRC R302.7 requires half inch gypsum board on the enclosed side of the walls, the under-stair surface and any soffits of an enclosed accessible space under a stair. Open framing under a stair in an unfinished basement is generally not considered enclosed and does not trigger the requirement.
Can I use a spiral staircase or a ladder to reach a loft?
A spiral stair is permitted with a 26 inch minimum width, a 9 1/2 inch maximum riser and 6 feet 6 inches of headroom. An alternating tread device or ship ladder may serve as the means of egress only for a loft or mezzanine of 200 gross square feet or less, and not where that space is the only access to a kitchen or bathroom.
Building in Teton Valley or Eastern Idaho?
If you are drawing a custom home in Teton Valley, Driggs, Victor, Tetonia, Rexburg, Rigby, Idaho Falls or Jackson Hole, I will look at your stairs against your floor system before the structural drawings go out, not after. That one review, stairs against structure, has saved more plans than any other thing we do early.
We build custom homes only, we run 24/7 site cameras on every job so you can watch your stairs get framed from wherever you are, and I am involved in every phase of every build. Built different. Built right. Built by SwagerBuilds.
Call (208) 520-0636 or reach out through the site and we will talk about your lot, your plan and your timeline. If you are still choosing a builder, our guide to picking a luxury home builder in Teton Valley and our explanation of what a builder warranty actually covers are both worth reading first.